 |
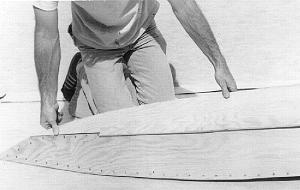
Fig. 17: After the side planking is fastened in place, the overhanging
edges may be trimmed to receive the bottom planking. Final finishing of the
fairing in the aft section is best done with a 12" long minimum block with
san. |
 |
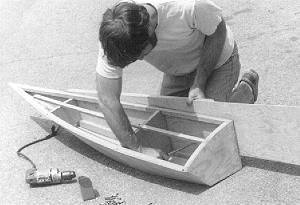
Fig. 18: The RUNNER SIDE PLANKING #11 is screwed in place after coating all
mating areas with glue. |
 |
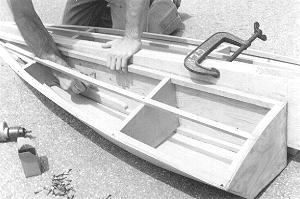
Fig. 19: The RUNNER SIDE PLANKING #11 is fitted oversize as shown. The only
area that must be fitted carefully now is that portion forward of FRAME #3
which will butt to the RUNNER BOTTOM #12. |
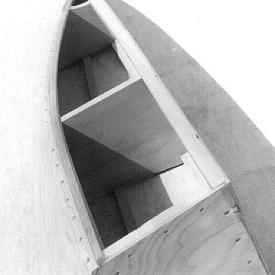
 Fig. 20: The RUNNER SIDE PLANKING #11 is shown after trimming
and fairing. Note the area forward that was carefully fitted to butt to the
RUNNER BOTTOM PLANKING #12 compared to the faired area aft of FRAME #3 where
the bottom will lap the side. Screws should be located lower here so as NOT to
interfere with fairing. Fig. 20: The RUNNER SIDE PLANKING #11 is shown after trimming
and fairing. Note the area forward that was carefully fitted to butt to the
RUNNER BOTTOM PLANKING #12 compared to the faired area aft of FRAME #3 where
the bottom will lap the side. Screws should be located lower here so as NOT to
interfere with fairing. |


 Fig. 20: The RUNNER SIDE PLANKING #11 is shown after trimming
and fairing. Note the area forward that was carefully fitted to butt to the
RUNNER BOTTOM PLANKING #12 compared to the faired area aft of FRAME #3 where
the bottom will lap the side. Screws should be located lower here so as NOT to
interfere with fairing.