Jet Jon
Page 6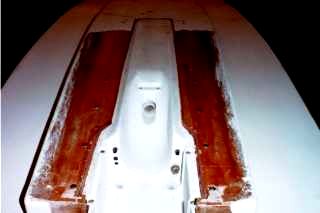
Once the hull is rolled over you should have a nice smooth bottom like this.
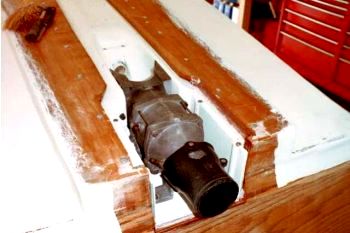
I just couldn't resist trying the pump!
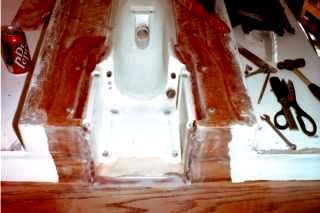
Filling the seams around the pump housing takes a bit of patience. Be careful not to get resin in the ride plate mount holes.
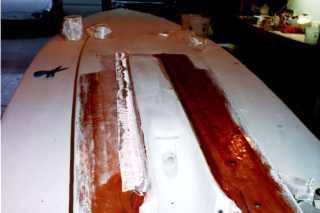
Next, fill and tape the seams for the rest of the hull. By not completely filling the seam I ended up with a small channel running down each side as a path for air bubbles.
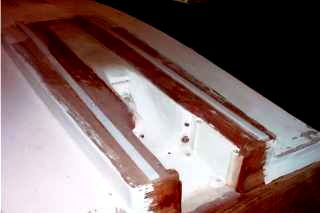
First I added a layer of cloth over the Jetski hull bottom and then installed 1/4"x1" strakes.
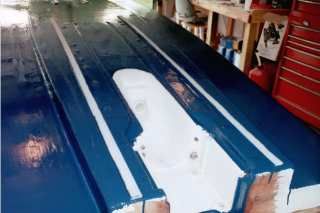
When I painted with Easypoxy I avoided painting the intake area (your choice). I did paint the pump mount area after taking this picture.
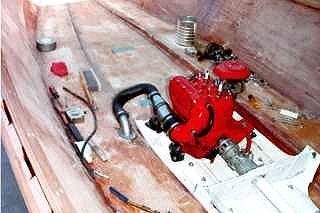
Trial fit of the engine. Note the exhaust exit through the hull bottom.
As you can imagine this project is unique to every boat. If you want to see how I did the interior go to Jet Jon and look at the Jetfish project (page 5). Aluminum boats would be a whole different set up. Even so, this series of photos should prove helpful to you as you design and construct your own improved version. I would have to say by far the most important things are to be creative and have fun!
I would be happy to answer any questions you might have on the Jet Jon Forum.