Subject: Sissy-Do Update from George Maher
Date: Fri, 16 Jan 2004
A lot has happened since my last update.
After attaching the sides and bottom planking with marine epoxy and screws, I smoothed the plywood edges where the bottom overlaps the sides with a hand plane.
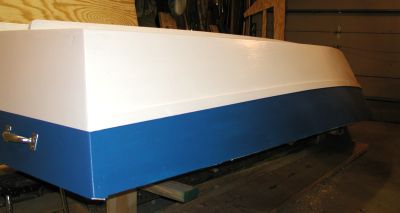
Next, I applied a trim strip along the sides, bow to stern, to act as a spray control strip. This will also be a break strip between the base color of white and an accent color of marine blue. This trim strip is 3/8 inch by 1 1/4 inch clear pine, glued to the hull.

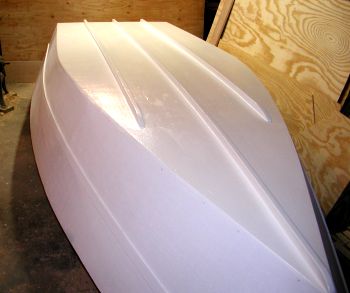
Then, after reading about sanding plywood and getting a wavy surface I decided to apply sanding sealer and then sand the surfaces in preparation for the paint. I applied one coat of sanding sealer and it soaked in so unevenly I decided to apply another before doing any sanding. That worked just fine. The entire hull was sanded in preparation for painting. At that point I decided not to fibreglass the hull, but just paint it. That decision was made after closely examining every inch of the seam between the bottom and the sides, the bottom and the stern, and the mating of the sides at the bow. The seams are very tight together and will seal just fine. So, I applied two coats of exterior oil-based primer, sanding between coats. Then, after sanding the primer, two coats of latex exterior satin finish paint, again sanding between coats.

A color accent strip, or panel, was painted just above the spray rail on the sides and across the transom. Once again, two coats of marine blue and it looked great. This was done just prior to releasing the boat from the building frame and turning it over, right side up.

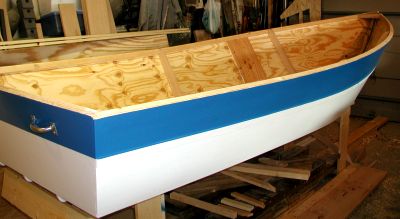
The big day of turning the boat over finally arrived! I rounded up my three sons; Aaron, Adam, and Andrew to be sure I had enough manpower that we would not drop the boat in the process. We discussed the clearances we had between the boat, the building frame, and the tracks for the garage door. There was not a lot of extra space, so we had to plan it out carefully. Then, these husky guys just picked it up and turned it over and set it back down on the building frame without a scrape or a bump. Absolutely perfect!

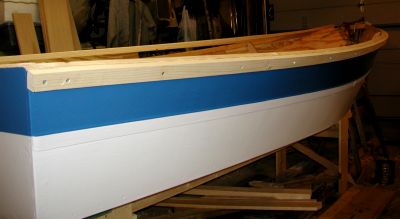
The edging around the sides was the next project. I elected to go with a cap on top of the inside and outside shears to protect the edge of the plywood all around. The edges of the cap will be rounded off with a router for a smoother finish. And that is where I am right now on this marvelous project. The interior paint (sea green) and oak-strip seats and oak bow-cap are next, among other things.