Biscayne 22 by Bob Perkins 12
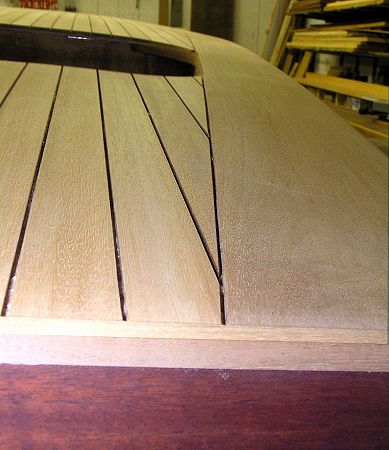
111. I hope the color comes out ok.
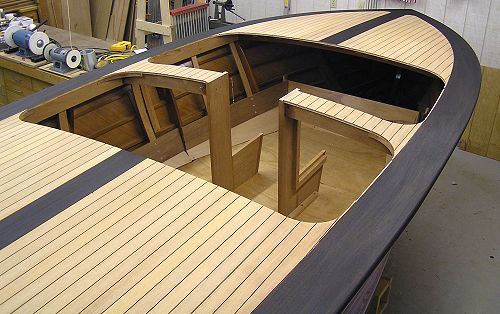
112. Here are the covering boards stained with a combo of Solarlux Brown Walnut, Transtint dark walnut and a little black. I hope they do not look green once varnished
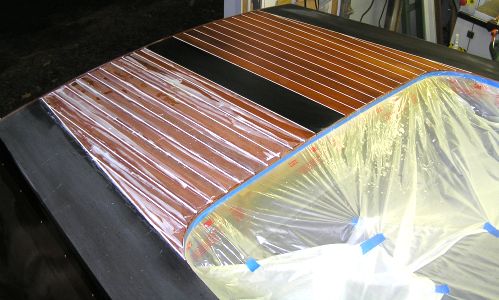
113. I Need to do a better job of getting the Sikkaflex into the 1/8" false seams that I made. I managed to get it all over the place. The good part is it came off with 220 grit wet sanding - but it took a little while. Here is the sanded side vs. the mess I started with.
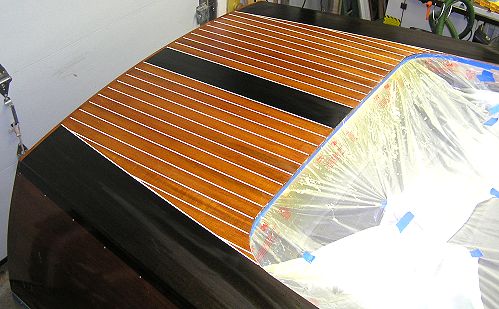
114. Completed the backof the boat. All of the wet sanding done. This section used almost an entire tube (caulking gun tube..) of Sikkaflex. I'm going to need more. I thought two tubes would do the entire boat. No way...
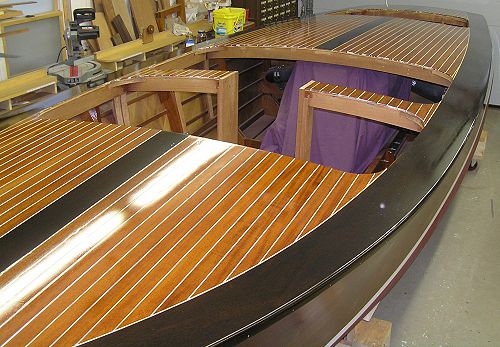
115. Deck varnished after completing stain and caulking. Needs 4-5 more coats of varnish, wet sanding and polishing.
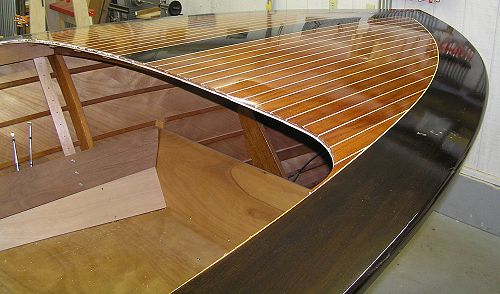
116. Now to start putting the interior in for the last time.
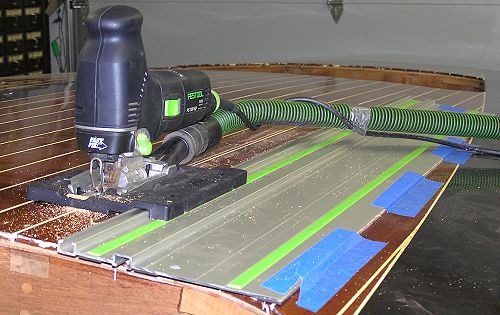
117. I used a drill with a sharpened coat hanger as a bit to pop holes through the deck from the hatch framing underneath. That allowed me to find the corners and centers, etc. Once I had the layout complete - I plunge cut the deck with a jig saw and guide rail. Do not cut the doors loose until you have all of the hatch trim in place. That way the deck lines will stay in line and the trim will be much easier to fit.
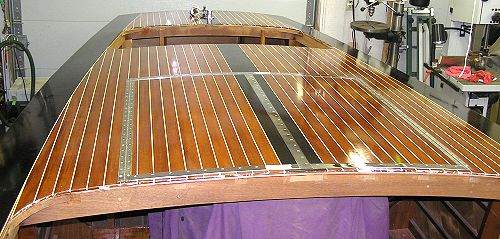
118. Here the trim has been cut and fit. Now I can complete the deck cutting out the hatches and do the finish work on them and the opening.
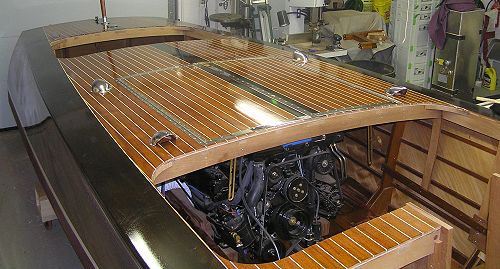
119. Here I have all of the deck fittings in place, holes cut (without incident, whew)
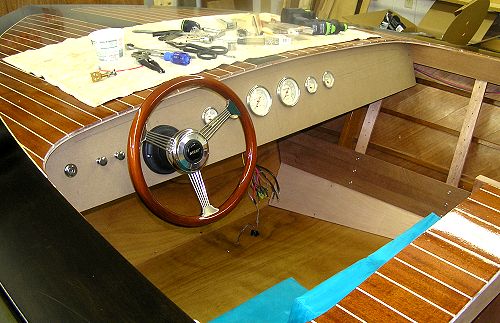
120. First Mockup of the dashboard... in MDF. I need to adjust a few positions of the items. But not a bad first try.