Biscayne 22 by Bob Perkins 4
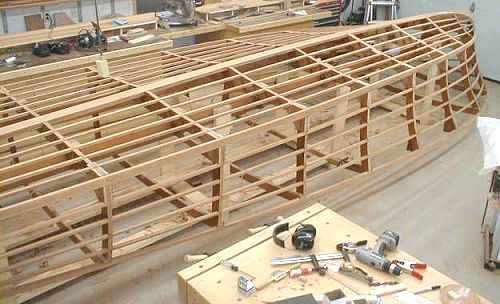
31. At long last, fairing is completed. Using battens and references will assist in fixing any lumpyness in your hull. Be extra careful on areas low to the floor or difficult to get at because of space constraints. It is very easy to leave a lump in the hull because of poor sightlines.
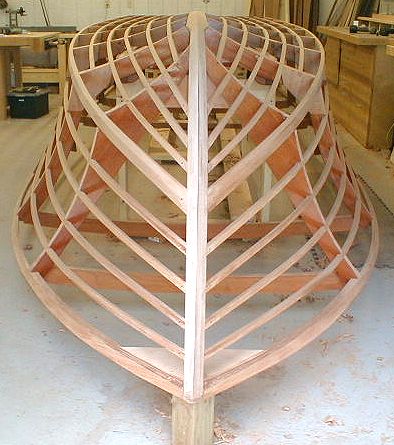
32. Completed fairing front view.
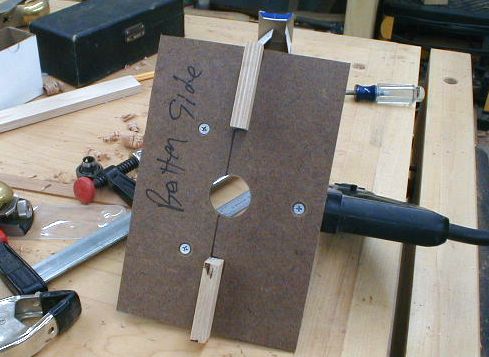
33. Jig that I made for cutting limber holes in slide 28. it took longer to make/test the jig than to cut all of the holes.
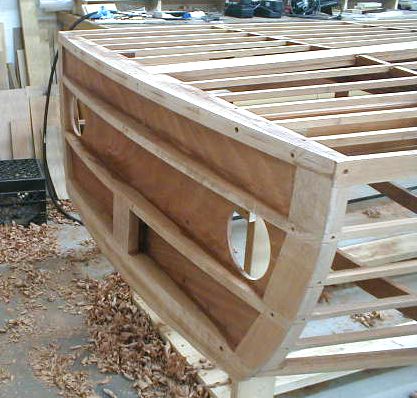
34. The Biscayne transom is built up. It is a curve in only one direction and is flat top to bottom. I tried to estimate where the exhaust hose would come through and precut the inner transom. In the end I was a little off and had to adjust anyway.
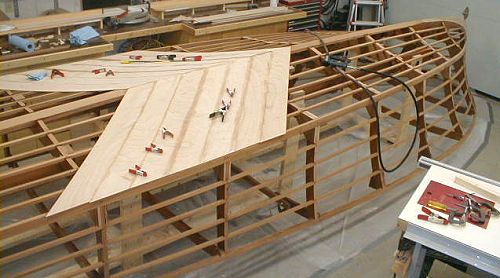
35. I decided early on that I would try to use vacuum pressure as a clamp to create the lamination. What this meant is the initial layer of planking had to fit very tightly to eliminate leaks. I started an the center of the keel with initial planks that are 45 deg off the center line. Each plank was individually epoxied, stapled and clamped into position.
The leading and training edges of each plank were beveled to 45 degrees so that the next plank could interlock and provide additional gluing surface area. Once a plank was in place, I would draw a pencil line over each corresponding batten so that I knew where it was safe to staple on the next layer w/o a blowout on the inside.
As you work your way forward and backward, each 6" wide ply strip needs to be shaped with a block plane to fit snuggly.
The extra work to make a tight initial layer is only necessary if you want to vacuum your hull as I have. Otherwise you can save a lot of time and shoot for "good enough".
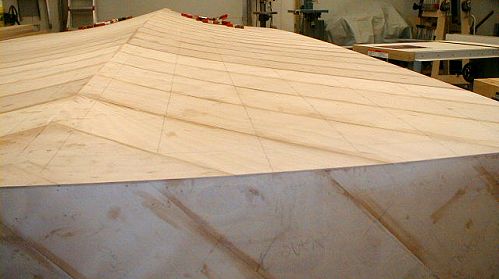
36. My Fairing of the frames paid off. I need to smooth out a few spots and get ready for the second layer.
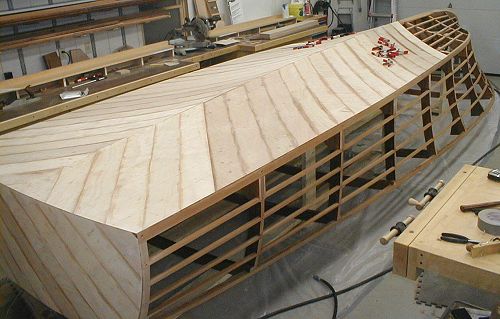
37. Working my way forward on the bottom
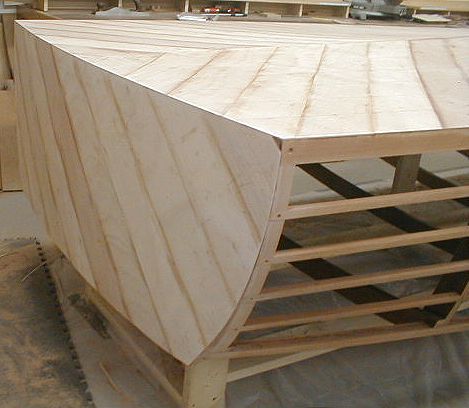
38. First layer of ply on the transom
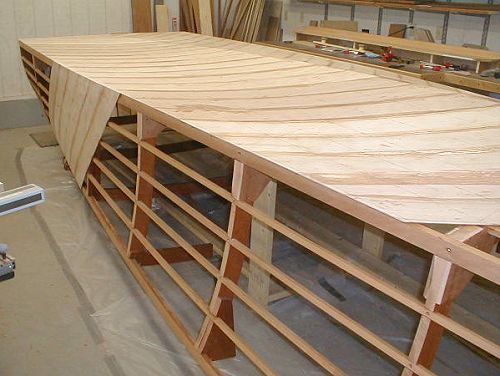
39. First layer planking completed on transom, within 4 feet on the bottom and just getting started on the sides. It is a slow process at this time because I'm trying to keep the joints tight and clean.
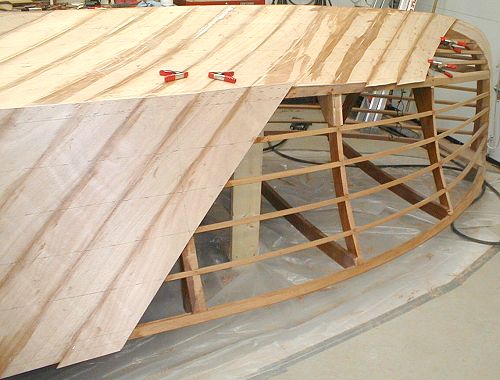
40. Here I'm getting to the more concave portions of the boat. The planks require more fitting and staples to hold them in place while the epoxy cures.