Biscayne 22 by Bob Perkins 9
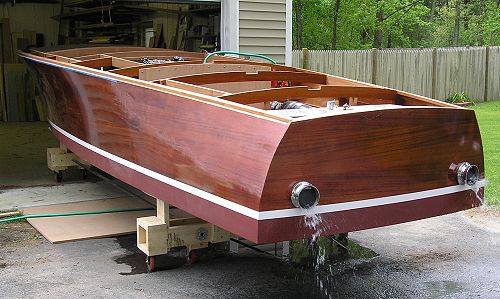
81. Finally - the first test run. Engine and exhaust sound great. They ran perfectly. The Mercruiser garden hose attachment is ultra convient.
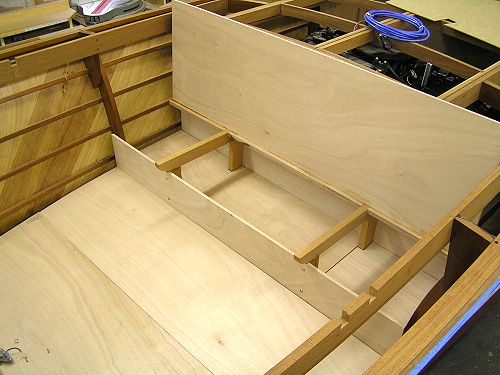
82. 2nd row seating in front of engine compartment going into place.
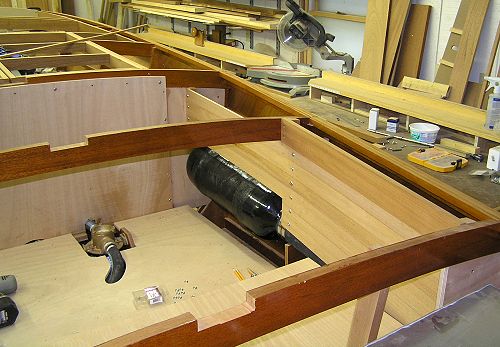
83. Here is the initial setup of the rear seating area with ceilings and mufflers still exposed.
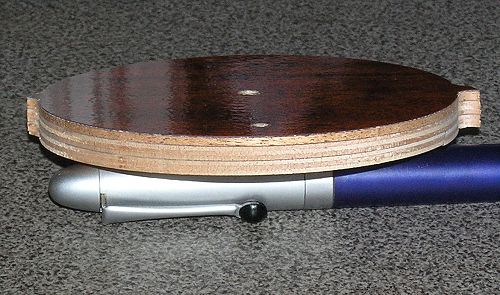
84. I get lots of questions about vacuum bagging. Here you can see the top layer of stained mahogany with 4oz glass and MAS epoxy. The Mahogany is 1/8" veneer. Next there are 2 layers of 3mm Okume plywood. Each layer of wood has 3 plys. Then if you look closely, there is a very thin glue line - that is the epoxy from the vacuum glue up. Vacuum bagging made for these tight, void free layers. I don't think it would have been this nice with staples alone.
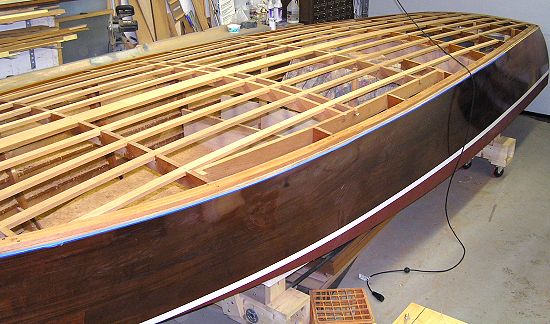
85. The deck battens have just gone in and are being faired now. It made more sense to me to try and get a fair deck before cutting out the openings.
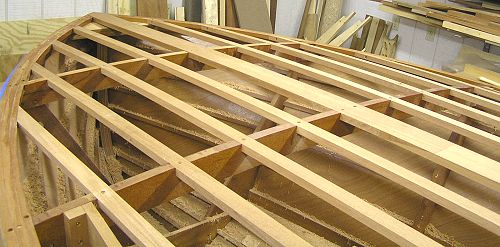
86. Here are the bow deck battens.
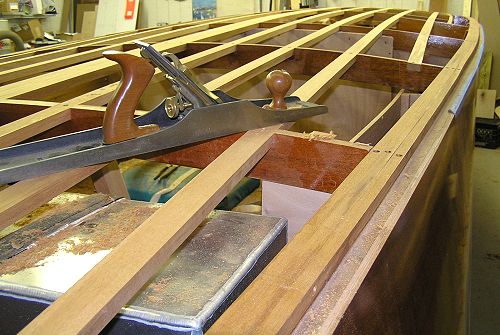
87. Fairing the deck was infinetely easier than the hull. The concave hull was tough to work with. The convex deck is simple. I may have 5-6 hours of fairing total.
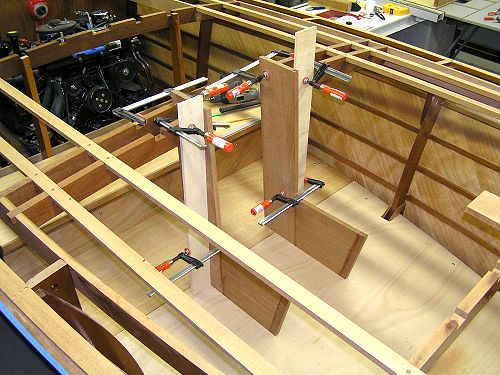
88. The front seats will be bucket style so people can easily take turns driving. It's been a bit of mental gymnastics to figure out the best way to secure everything so that people can't pull the boat apart.
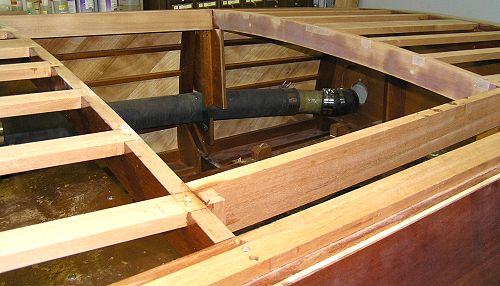
89. Here is the completed rear seating with the deck battens in place.
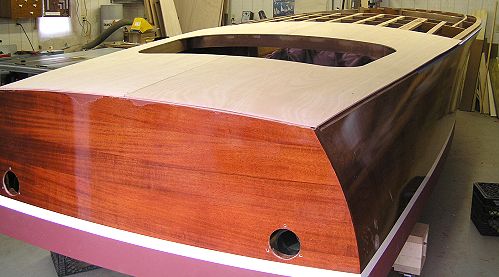
90. I wanted to skip and do something different, here is the sub deck temporarily installed. This portion of the boat is done enough that I can comfortably close it in w/o wishing I had not. Once I get the front seating finalized, I'll permenantly install the subdeck and get going on the covering boards.