Sissy-Do
Construction Pictorial
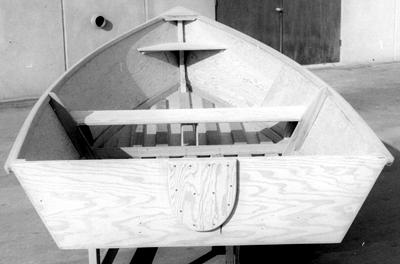
Fig 10: The outer sheer bumpers are sprung around the boat and the transom motor pad installed.
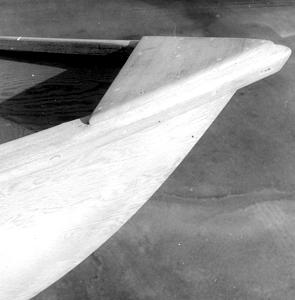
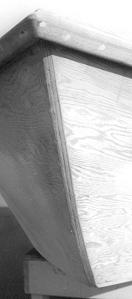
Fig 11: The breasthook area may be capped for appearance with a piece of mahogany or oak. The area along the stem is flattened for an optional protecting strip of half-oval metal or oak. Note: If you intend to fiberglass (recommended), the fiberglass should be applied before the bottom skeg or protecting strip along the bow. Fit these pieces prior to fiberglass and remove. Re-install after fiberglassing.
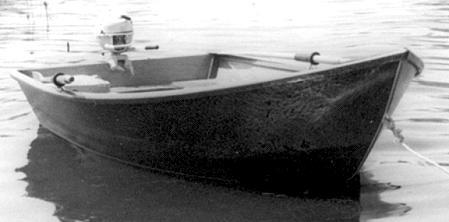
Fig 12: After the fun of building, you can enjoy your new Sissy-Do ...and when people ask you where you got this great little boat, you can proudly tell them, "I built her myself".