I had been contemplating designing a small punt-type sailboat, perhaps this would do the trick. After a lot of sketches, pondering, cussin', and even a beer or two, I had preliminary drawings for my ticket to my easy chair and ball game. It would be made from standard 8' plywood sheets, with a small centerboard and sleeve-type unstayed mast, plus oarlocks and transom reinforced for a very small outboard "kicker".
I first lofted the entire thing full size (as we always do at Glen-L) so it would be easy for me to build, and fast. I then drew out all templates for the pertinent parts so I could cut the lumber all at one time. I was careful to utilize all material completely as this was to be a low budget project. I've always got some "mad money" hidden out, but darned if I wanted to blow it all getting out from behind this eight ball.
I was able to lay it out so that it required only three sheets of plywood. Two 1/4" x 4' x 8' sheets would plank the entire boat, while I'd use another sheet of 1/2" plywood for all the seats, centerboard, and rudder. In further keeping with my lack of ambition, and my low budget, I did not want to use an elaborate building form or complex jib.
I won't bore you with the construction, but with some thinking beforehand, I eliminated most all of the fairing of the structure by pre-cutting angles on the chines, keel, bow piece, and transom. If you've ever built a boat, you know that fairing is the most tedious part. Actually, I breezed right along after I had the loftings finished. I sawed out most of the parts and made sub-assemblies in a couple of leisurely evenings. With the experienced help (?) shown in the photo, it only took a day to get her ready to roll over to start puttying the holes and add the finishing touches. I let the kids do most of the painting, and we didn't cover it with fiberglass. I'm forced to admit that I've seen better paint jobs, but what the heck, it was fun for them and they felt good because they were helping.
After we finished painting and outfitting the boat, we took off to the lake. We had a little outboard motor and had obtained a sail and oars, so we were ready to go. Our station wagon was big enough so the little craft slipped in with ease. When we got to the lake, my older daughter helped me rig the boat for sailing. And it was time to launch.
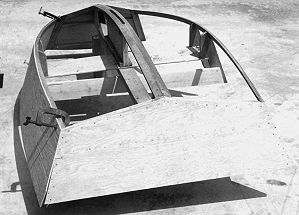 Fig. 11: The planking is leaned against the side of the
hull, roughly marked to shape, cut, then is clamped in position for closer
marking and fitting.
 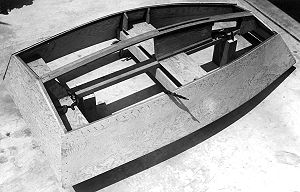 Fig. 12: The
planking is nailed with annular-thread boat nails, spaced per the fastening
schedule.
 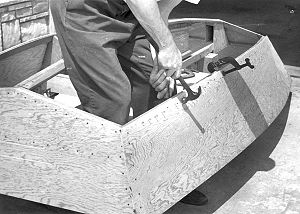 Fig. 13: It will
be necessary to "buck" the chine when driving nails with a weight or
heavy hammer so that the nails may be driven securely into position.
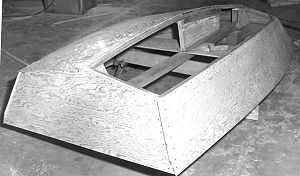 Fig. 14: The
bottom is applied in similar fashion after planing the side planking overhang
flush along the chine.
 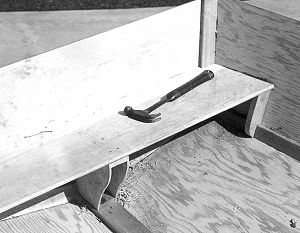 Fig. 15: The boat
is turned right-side-up and the forward seat put in position. These should be
used both at the transom and the bow seats.