Fancy Free
Construction Pictorial

Fig 5: The keel is slotted for the centerboard and put into position, ready for gluing and fastening.

Fig 6: Note the eye-bolt through the keel, with rope to hold it in position. Cable and turnbuckles are also used for this purpose.
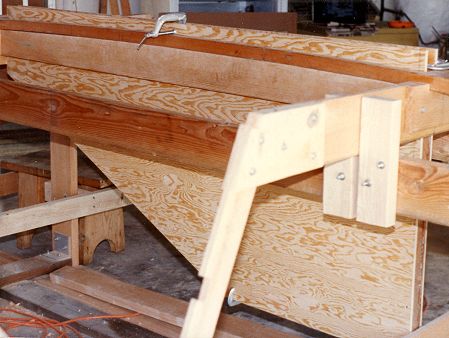
Fig 7: The centerboard trunk is being fitted. Note the bracing on the form to hold the frame in position.

Fig 8: The chines are being fitted, again Ed has used ropes to hold them in place.