The Rob Roy as built by
Larry "Rehd" Brown, Fresno, Calif

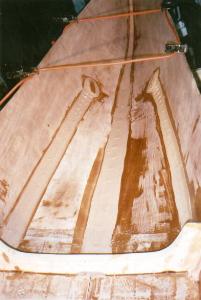
17.( 11/18/01 ) This picture shows the first fillet layer on the inside seams. You can see a few of the wires showing through. I used my extension cord and some spring clamps to pull the two side together so the breasthook would fit and I left it there until the first layer was cured. That held the shape of the canoe until the fillets could hold them solid.

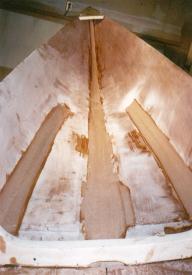
18.( 11/19/01 ) This shot shows the second layer of fillet material, after holes from wires were filled. Using Bondo squeegee worked real well to keep surface smooth. Sanding/feathering the edges was a breeze.

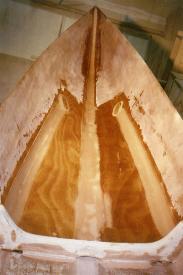
19.( 11/22/01 ) Fillets sanded and 3" glass tape added on all seams. I had to cut make small cross cuts in the tape at the stem so it would lay flat along the curve. Also starting to fillet opposite end of boat and center frame.

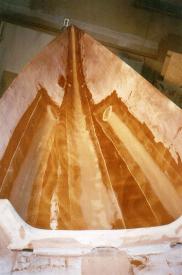
20.( 11/24-25/01 ) 3" tape sanded and edges feathered. 6" tape added over seams. Also starting to fillet seams on opposite side of boat with second coat of filler.