Rebel
Construction Pictorial 2
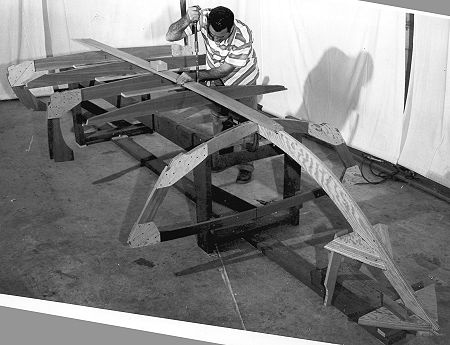
Fig 6: The keel is glued and bolted to the stem and screwed to each of the frames.
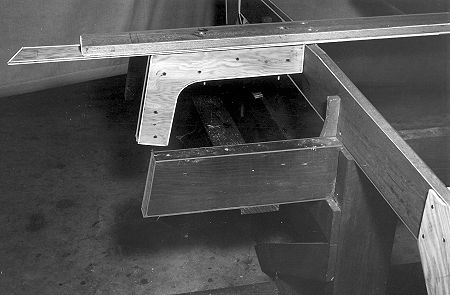
Fig 7: The transom knee butts to Frame 1 and is glued and bolted to the keel. The knee is used to obtain the proper angle of the transom. Note: All permanent junctions are glued, whether stated or not.
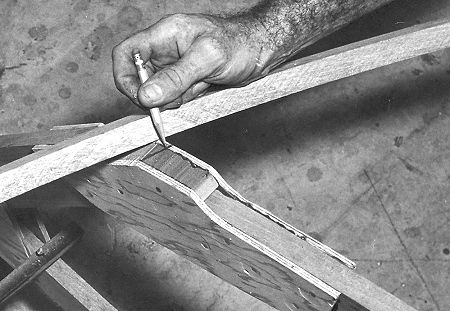
Fig 8: It will be necessary to angle the notches in the frames so that the chine will lay on a flat surface and not just the forward corner.
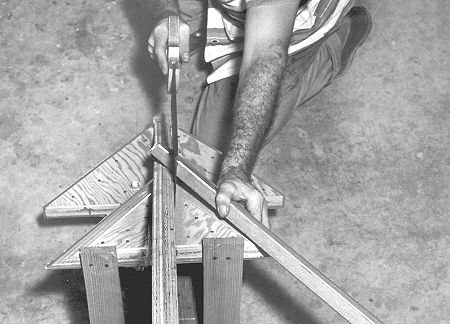
Fig 9: The chine is held at an angle from the stem and beveled to fit, using the stem as a guide.
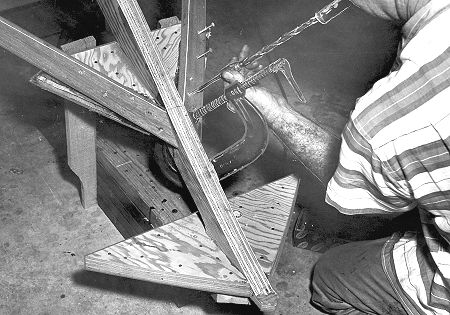
Fig 10: The chine is glued and fastened first at the chine blocking. The chine is fitted angularly across the chine blocking to make a smooth curve around the frames.