Rebel
Construction Pictorial 3
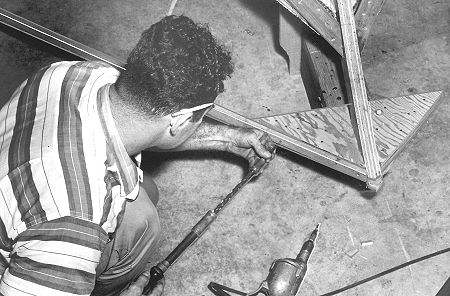
Fig 11: The sheer clamp is put on in a similar manner, fitting and fastening first to the breasthook. The frame notches will need to be angled as was done for the chine.
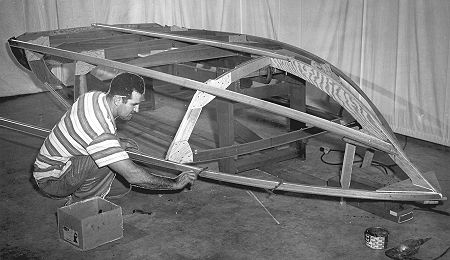
Fig 12: The sheer is put on in two laminations, with layers liberally coated with glue. The sheer is set in vertically from the stem to Frame 5.
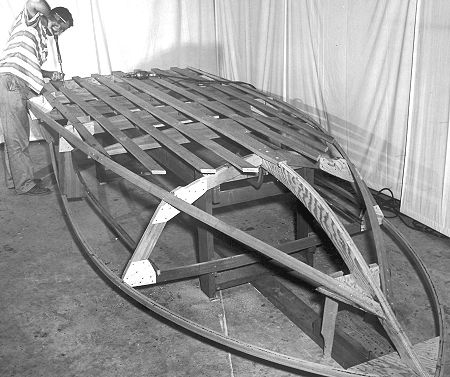
Fig 13: The bottom and anti-trip chines are glued and fastened in place. The anti-trip chine must be fitted in a long taper to mate to the chine.
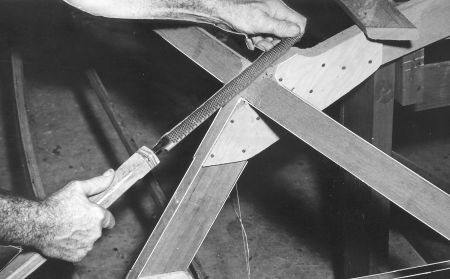
Fig 14: The builder is filing a notch in the chine to conform to the contour of the bottom frame. This is done along the chine, sheer and keel at each frame.
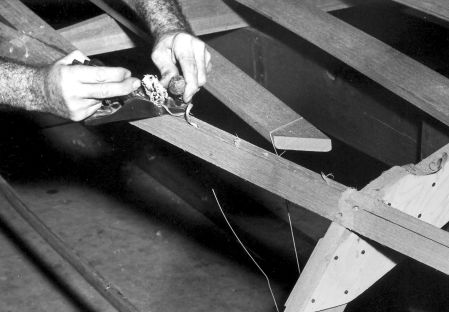
Fig 15: A plane is used between the notches to assure a clean, smooth sweep. The planking must have a flat surface to mate to on all longitudinals.