Rebel
Construction Pictorial 5
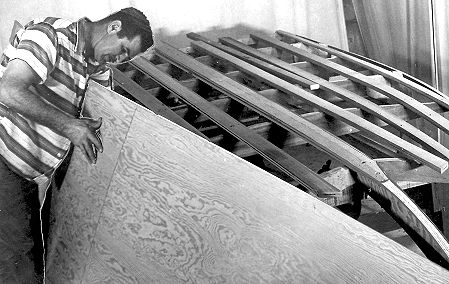
Fig 21: Fitting the panel is easy. The panel is leaned against the side of the hull and contour is marked to the panel, using the framework as the pattern. Note: The panels shown in these photos are full-length. Today, we would use 4' x 8' standard sheets and join with a butt block or scarf-joint. These joints would be made between frames (not on frames), preferably where there is the least curvature. We usually use a butt block.
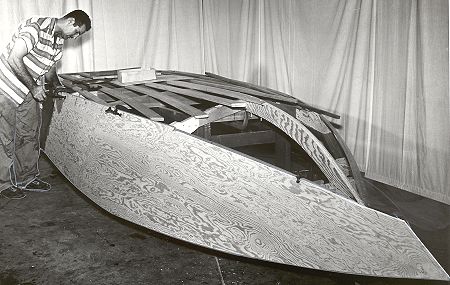
Fig 22: After cutting roughly to shape, the side panel is clamped to the framework and drilled for screws. The panel is not acurately trimmed until after final installation, except in the forward portion along the chine, where side and bottom planking will meet in a butt-joint. (See Fig. 16)
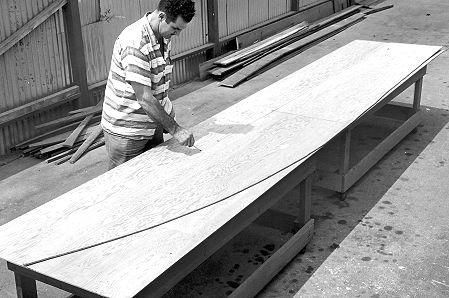
Fig 23: After fitting the first side panel, it is checked to the opposite side, then traced onto the second side to simplify fitting. Take care to insure that the best face will be on the outside of the hull.
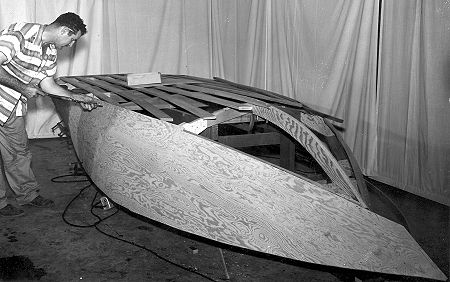
Fig 24: After coating all mating surfaces with glue, the side panel is screwed to the chine, sheer, transom and stem. Several locating screws at mid-point will enable the builder to proceed towards the bow and stern of the boat. Note that clamps are used with wood blocking to roll the tumble home at the transom. Hot water or wetting the outer surface of the panel is recommended in this area.
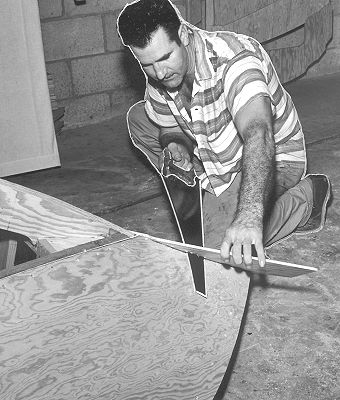
Fig 25: The initial side panel has been trimmed flush at the bow. The second side panel laps the first and is sawn and planed flush.