Biscayne 22 by Bob Perkins 11
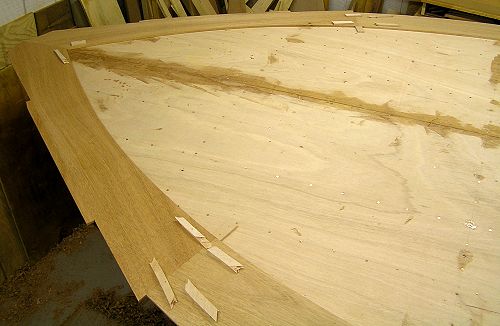
101. Here are the bow covering boards pinned in place after final fitting.
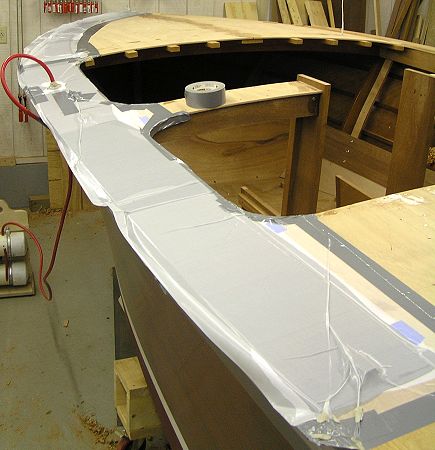
102. Because the covering boards have a lot of surface area and they would be very difficult to repair if they did not bond well, I decided to vacuum clamp them into position. This photo shows the front three sections getting clamped down. Vacuum work is a little more time consuming than using a bunch of staples - but the bond is exceptional.
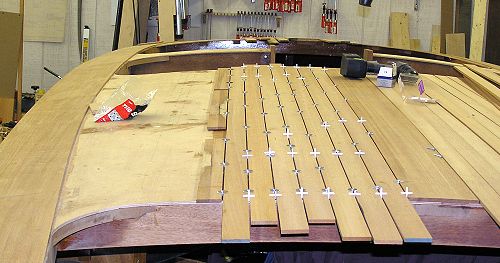
103. The king plank is in place and the first of the deck planks have been glued on. I kept it simple and went with 1 3/4" x 1/4" planks. The spacing is 1/8". I used epoxy with a v-notch spreader and then used #4 screws and fender washers to hold the planks in place while the glue dried. These took about 1 1/2" hours to install + screw in place, etc.. I tend to work neat. The planks were milled from 8/4 flat sawn mahogany, then sliced off the end to get 1/4 sawn planks. However they tend to bow a bit. It takes a little work to get them to straighten up during the screw/clamping process. There is picture distortion too. They are straight - not bent like it may be rendered on your screen :)
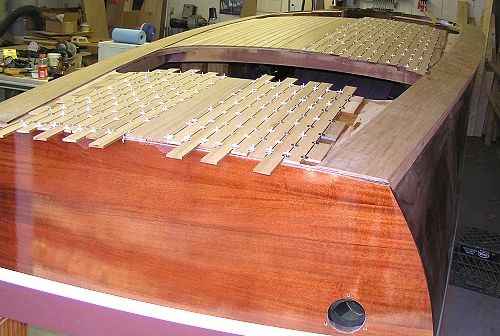
104. Here are the next sections of deck planks being installed. It takes a while to get all of these in and out. I spend 1 hour this AM removing ~250 *clamps*.
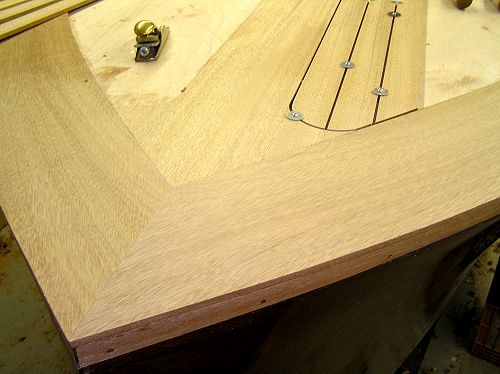
105. Each of the deck planks that meet the covering boards needs to be custom fit. Here are the first 3 that meet the bow. So far I'm happy with how they are coming out.
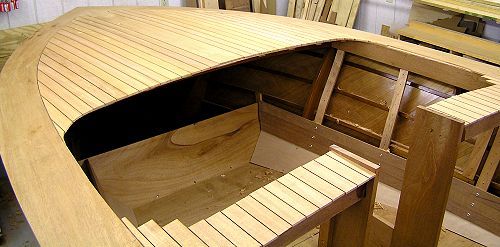
106. Here is the completed Decking. Next is a bit of fairing and sanding. Once the deck is fair, I will install the rubrails and get the edges rounded over. Then stain, seal and varnish.
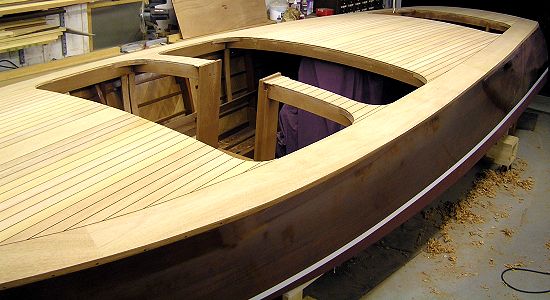
107. April and May are Slow boat building months around here because I'm getting my sailboat ready for the season and the spring house duties.. I completed the deck sanding and fairing last night. I'm finally getting pretty good and hand planing. A 4 1/2" with York pitch was the best plane for working down the *lumps*.
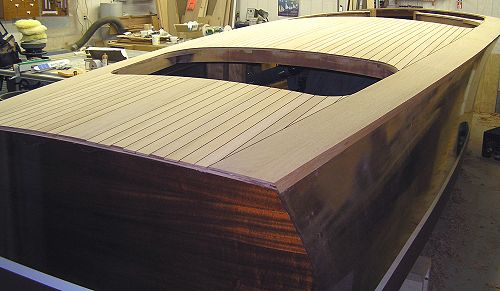
108. In addition to the hand plane, I uses a pneumatic longboard for sanding and a 5"x10" piece of 1/2" plywood run over the surface holding it with 2 fingers at the sides. The plywood should smoothly ride the surface of the planking, if there are any hard spots (lumps) it will rock on top of them. Just plane, smooth and try again. The lines in the planks are great visual cues to see if there are bigger issues. I think it is pretty close - a shiny surface once varnished will tell me how good my technique was.
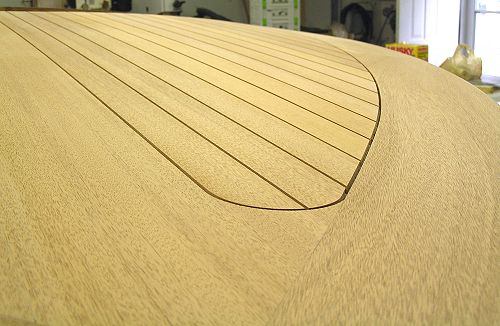
109. A closeup of the 1/8" Gap in the deck planks.
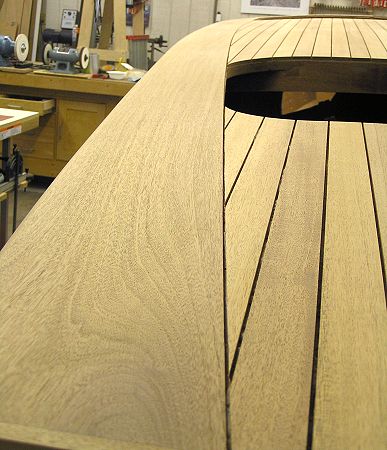
110. More Planking detail.