Biscayne 22 by Bob Perkins 8
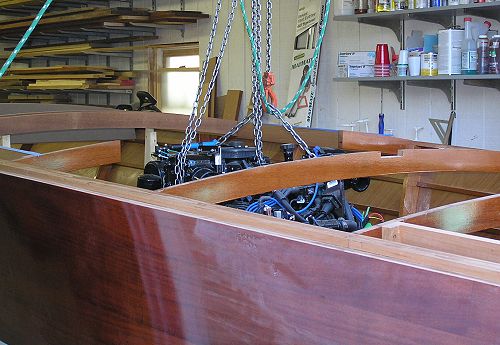
71. Motor is hanging from chain hoist through bolted to the cross member above my garage door. I put the jib sheet from my sailboat on 2 other hooks as a safety line.
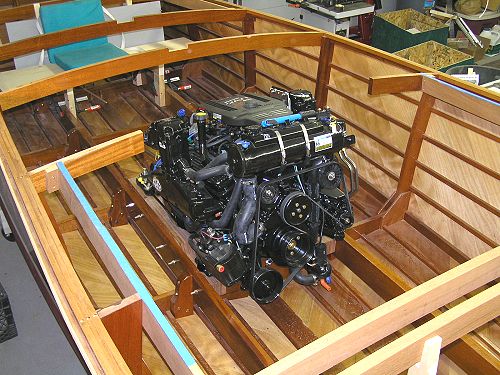
72. Finally the motor is in place. The planning and pre-calibration paid off. The shaft was perfectly aligned to the transmission coupling. I spend 20 minutes fine tuning it.
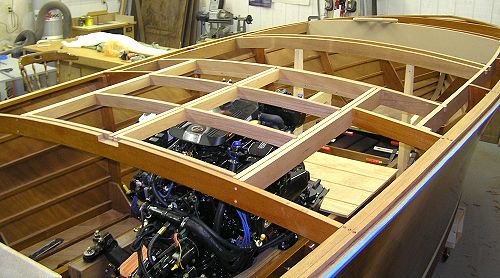
73. Here is the hatch framing near completion.
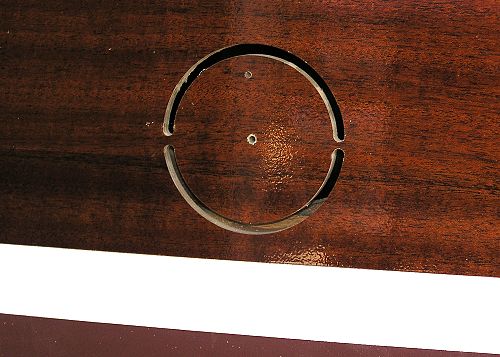
74. Here is the hole in the transom. I used a Jasper router hole cutting jig and precut the hole leaving two small tabs in place. That way there was no chance of the router boucing around just at the cut was complete. Finished cut with a small hand saw.
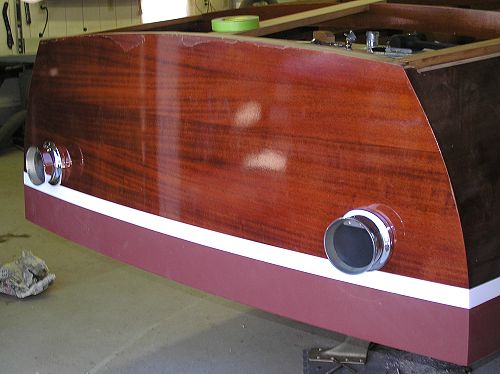
75. The exhaust trumpets in place. Just how I wanted them to look.
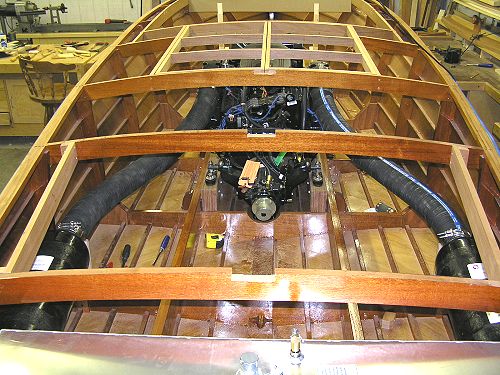
76. For all that is written about motors and installations, there is very little in the way of marine exhaust design. My first pass at exhaust plumbing looked like this.. not so good. The hose took up all of the leg room in the rear compartment.
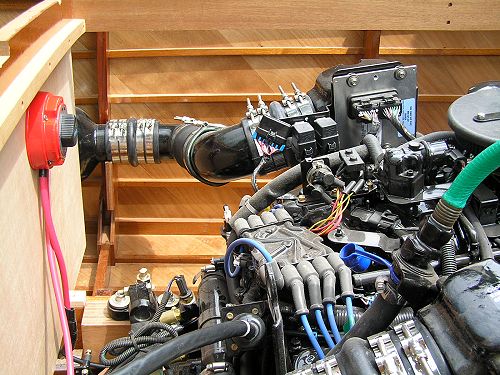
77. I didn't like the previous exhaust hose layout - It took a lot of checking to come up with this simple layout. I don't design marine exhaust for a living.. It turns out that I just needed a couple of elbows and connectors.
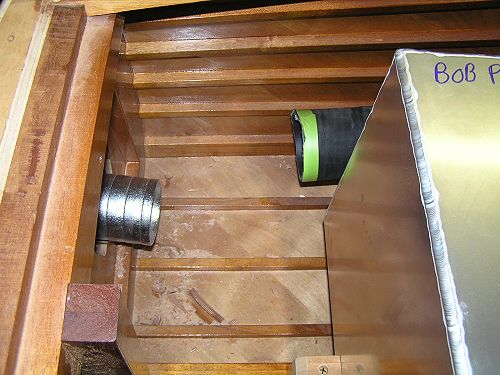
78. Here is the exhaust pipe beside the fuel tank - even without the tank - the bend would have been tough. I will most likely get a section of stainless fabricated to make the final connection.
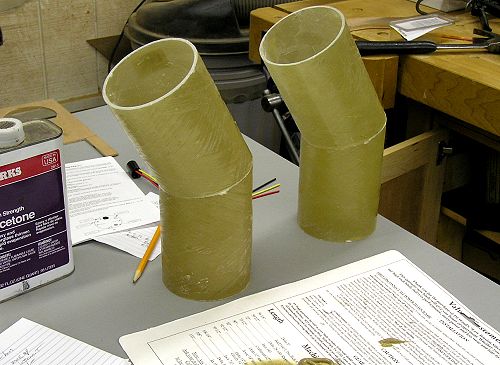
79. There were no off the shelf elbows to get around the corner that I needed. I found out I could make them myself. Here are a pair of 30 deg connectors. I cut each side equally, then tacked together with 5 min epoxy before glassing with 5 layers of tape. They work great.
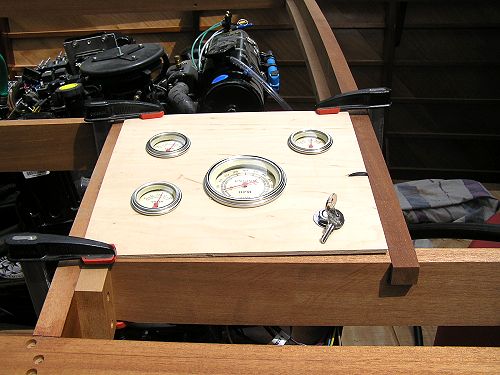
80. Here is my temporary instrument cluster to keep an eye on the engine.