Ski Tow/Malahini construction

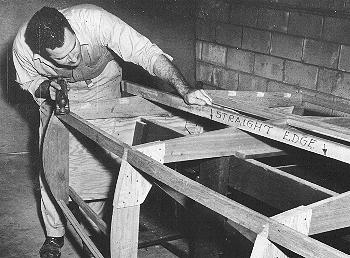
Fig. 19 - A continual check should be made of the bottom frame members. Since these must also be faired, it is imperative to keep the aft section lines straight. Don is using a straight edge to check the aft three frames to assure trueness. A "hook" in the bottom will result in the bow of the boat riding low. A "rocker" (upward curve) will result in a bouncing or "porpoising" hull. It may be trouble to constantly check the hull for fairness, but it is a heck of a lot easier than correcting it after the hull is done.

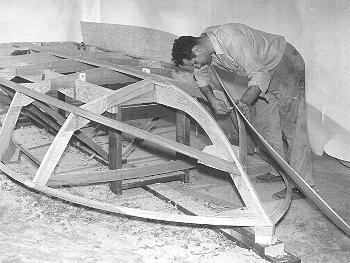
Fig. 20 - The side planking panel is laid against the side of the boat and roughly scribed with a pencil. The planking is most often made up from standard 8' sheets connected with butt blocks or scarf joints. This is one of the easier tasks and it is relatively easy to mark around the stem, chine, and sheer to determine the planking shape.

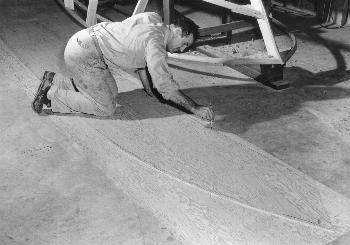
Fig. 21 - After the first side is roughly cut to shape it can be used as a tempated for the opposite side. The rough-cut side planking will be temporarily re-clamped to the side of the hull, the portion from approximately Frame #4 forward should be cut to the line that was drawn on the chine. Aft of that portion, the planking may overhang slightly, to be trimmed after the planking is installed. At the sheer line, the planking should overhang at least 1/2". The planking can also extend beyond the stem and transom and later trimmed to size. Drill and countersink holes for the fastenings at this time.

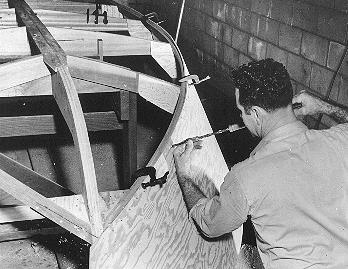
Fig. 22 - Glue is applied to chine, sheer, transom and stem where the planking will contact. The planking is clamped along the chine, at the transom, and several points forward after using a couple of screws to locate it in position. Since the portion that matches along the chine is most important, fastening along this area is done first. The use of a C-clamp to hold the panel firmly in place adjacent to the area where the screw is being driven is advised.