Ski Tow/Malahini construction

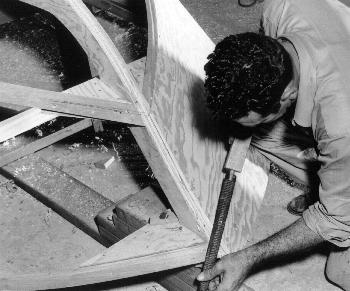
Fig. 23 - After the first side planking has been fastened in place it must be faired at the transom and stem. The stem area must be faired so that the second side will mate firmly to the stem and lap the first side.

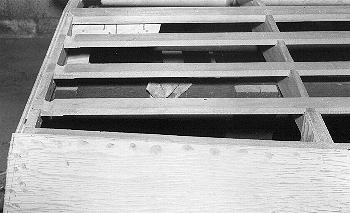
Fig. 24 - Notches (limbers) should be cut along the side of all the longitudinal on the outboard side to allow the water to drain aft. Also observe that a notch is made on the battens near the transom to allow all bilge water to drain ti the center. A transom drain plug is provided to wash or clean the water out of the bilge of the hull. If these notches are made, they should be will sealed with epoxy before applying the planking.

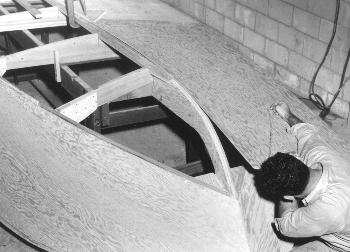
Fig. 25 - The fitting of the bottom planking is shown. The centerline of the keel is marked and the panel aligned on the centerline. This can be held in place with clamps or several locating screws. Then by sighting, Don marks a rough line on the bottom panel. He will saw this panel roughly to shape.

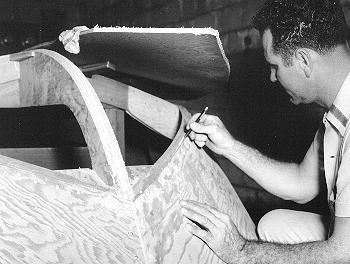
Fig. 26 - To accurately mark the bottom, it is often easiest to use a grease pencil or crayon, marking heavily on the sharp edge of the side planking. Then, by bumping the bottom panel on this edge, a line will be transferred to the bottom planking. The planking is removed from the boat and cut to this line, allowing room for final hand fitting. Along the sheer aft of this butt joint, the side may be allowed to overhang slightly and be trimmed after fastening in place.