Ski Tow/Malahini construction

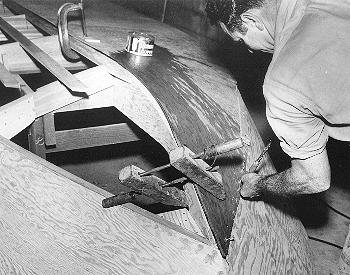
Fig. 27 - The bottom panel is clamped along the centerline of the stem. The first portion to be fastened will be along the butt joint, from the transition point forward. Since this is the most critical area for fitting, it is easiest done first. Note that the panel has been soaked with hot water (poured over towels) and allowed to soak for some time before application to make the bend easier.

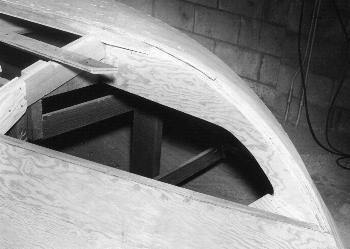
Fig. 28 - The first bottom plank is faired along the stem to allow for a
lap. Again as with the side planking, the joint will transition to a butt joint
at approximately where the mark is shown. Note the kerfing* of the battens and
the fact that the batten in the forward frame is allowed to float free. Glue
will be forced into the kerf prior to bending and fastening the planking. In no
case should the battens end on the frames.
*Kerf - A cut made by a saw. In this case, a longitudinal cut.

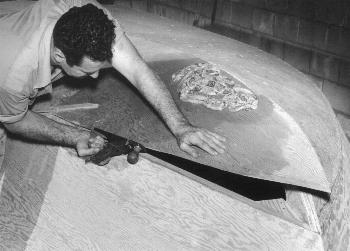
Fig. 29 - The final fitting of the bottom planking as it will meet the side planking in a butt joint must be done carefully. Continual checking of the panel will enable the builder to make a close fit. This fitting is done with the panel "dry" fastened in place. It will be removed and glue applied before final installation.

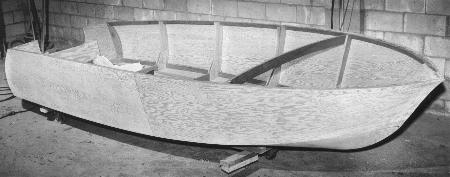
Fig. 30 - The hull has been righted. If you intend to fiberglass the outside (recommended), fiberglassing is usually done before the hull is turned. The simplest way to turn the hull is to unbolt the building form from the floor and roll the entire unit to right-side up. The hull should be chocked or blocked securely in a cradle before the form is removed.