Stiletto
Construction Pictorial ...Page 7

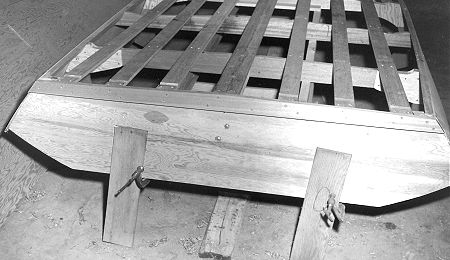
Fig 19: Note the notches in the battens close to the transom to allow any water in the bilge to drain to the keel and to be removed through drain plugs in the transom.

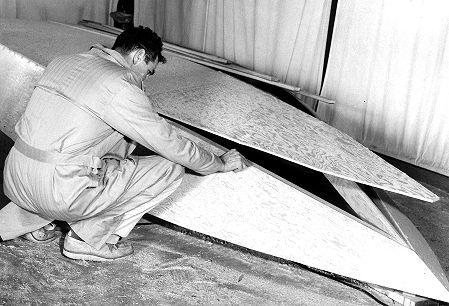
Fig 20: The builder is rubbing chalk on the sharp edge of the side planking in the area where the bottom planking will butt join. By bumping the bottom panel against this edge, a line will be transferred to the underside of the bottom planking.

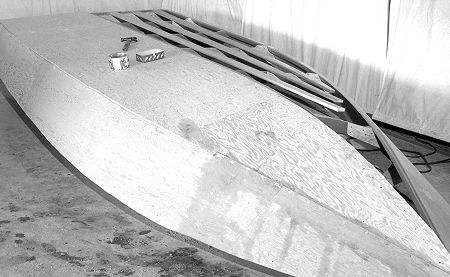
Fig 21: The first half of the bottom planking is installed. Note the cleft on the planking just forward of Frame #5. This is the transition joint described in the instructions. Aft of this point, the bottom planking is lapping the side planking and will be faired to the angle of the side planking.